Japan
day five
Ohayo my friends, an early morning rise meant no breakfast until we got to our destination, Arashiyama. We were hoping to come across an open cafe for breakfast once we got off at Saga-Arashiyama Station and made our way down towards Katsura River. It was still quite early so most places were closed but we found Hirose, a little mom and pop coffee shop, literally. A small place with big vibes and wonderful atmosphere. You could tell the, quite old, couple have been doing this for a long time. Each were very efficient in their own work and together. Very friendly and helpful with customers. We were served in beautiful sometsuke (blue and white pottery) cup and saucer. We had a quick little breakfast, coffee and cinnamon toast. So delicious though, we had seconds.
Once we arrived at the river, we saw the saddest thing of our whole trip in Japan. Old and young men, women, kids and even school kids in uniform with their teachers, all volunteers on a Sunday morning cleaning up the banks of the river of rubbish left by tourists. There were even groups in diving suits in the river. It shows that a lot of tourists have no respect for their surroundings, their environment and worst, the people that live there. It’s a shame because Arashiyama is a beautiful place. And Katsura River run pretty much through Kyoto. A very sad scene.
Our first big visit of the day was the Monkey Park Iwatayama. I was a little apprehensive of the conditions I would find the monkeys in but was reassured once we arrived on the plateau and saw them all wandering freely. Only one cage was visible and that was part of the shop where you buy food, water and feed the monkeys from. Or just get a bit of shade or escape the monkeys and relax, enjoy a drink. Magnificent view of Kyoto from up here as well. The monkeys seem to stay in and around the plateau but I’m guessing that’s because of the food. I’m sure if they head back into the forest once the park is closed. There are a number of supervisors making sure there’s no monkey business going on. I felt safe surrounded by the monkeys but that doesn’t mean I wasn’t careful. They can get aggressive with each other, as we witness just as we were making our way back down, which can be very dangerous if you’re caught in the middle. It was broken up fairly quickly by a supervisor. Watching them, you quickly realise how similar they are to us, humans. The way they act and react to things and each other, the emotions they show each other and have in their eyes, even moments between a parent and a child. And talking about kids, the baby monkeys are just adorable. So funny seeing them playing around the pond trying to catch fish without falling in. Typical kids.
Our second visit was the Arashiyama Bamboo Forest. Located just on the other side of the river from the Monkey Park, we strolled through the town a little before ducking into the forest. Unbeknown to us, we took a turn that make our visit quite short and miss half to two thirds of the Bamboo Forest. And it wasn’t the best part either. We left Arashiyama Bamboo Forest unimpressed but not just because of that. We got there at the wrong time of day, midday, and there were hundreds of people, tourists and locals alike, strolling through the forest. I think we would’ve enjoyed it a lot more if we’d visited before the Monkey Park and the crowds. And of course, the whole forest would’ve been nice to visit. I think a great way to visit the Bamboo Forest would be on a jinrikisha or rickshaw, as the two young ladies in the video did. They have their own path and stop for photo opportunities. And they’re not that expensive. Next time?!
Third visit of the day was Kinkaku-ji or Temple of the Golden Pavilion. For that we had to leave Arashiyama and head a little farther north. Located on the Rukuon-ji complex or Deer Garden Temple complex, Kinkaku-ji is magnificent. Absolutely stunning. I was worried I wasn't going to be able to avoid the crowds in my photographs but I worried for nothing. Though there were hundreds of people around, the pond in front of the temple made it possible to captured beautiful photos void of humans, people. A very impressive temple and even more so in real life. Even the small islands in the pond look like miniature gardens on their own. Just wonderful. The walk through the complex is beautiful and quite peaceful, even with the crowds. Near the exit there are stalls of food and souvenirs, and a beautiful teahouse to experience.
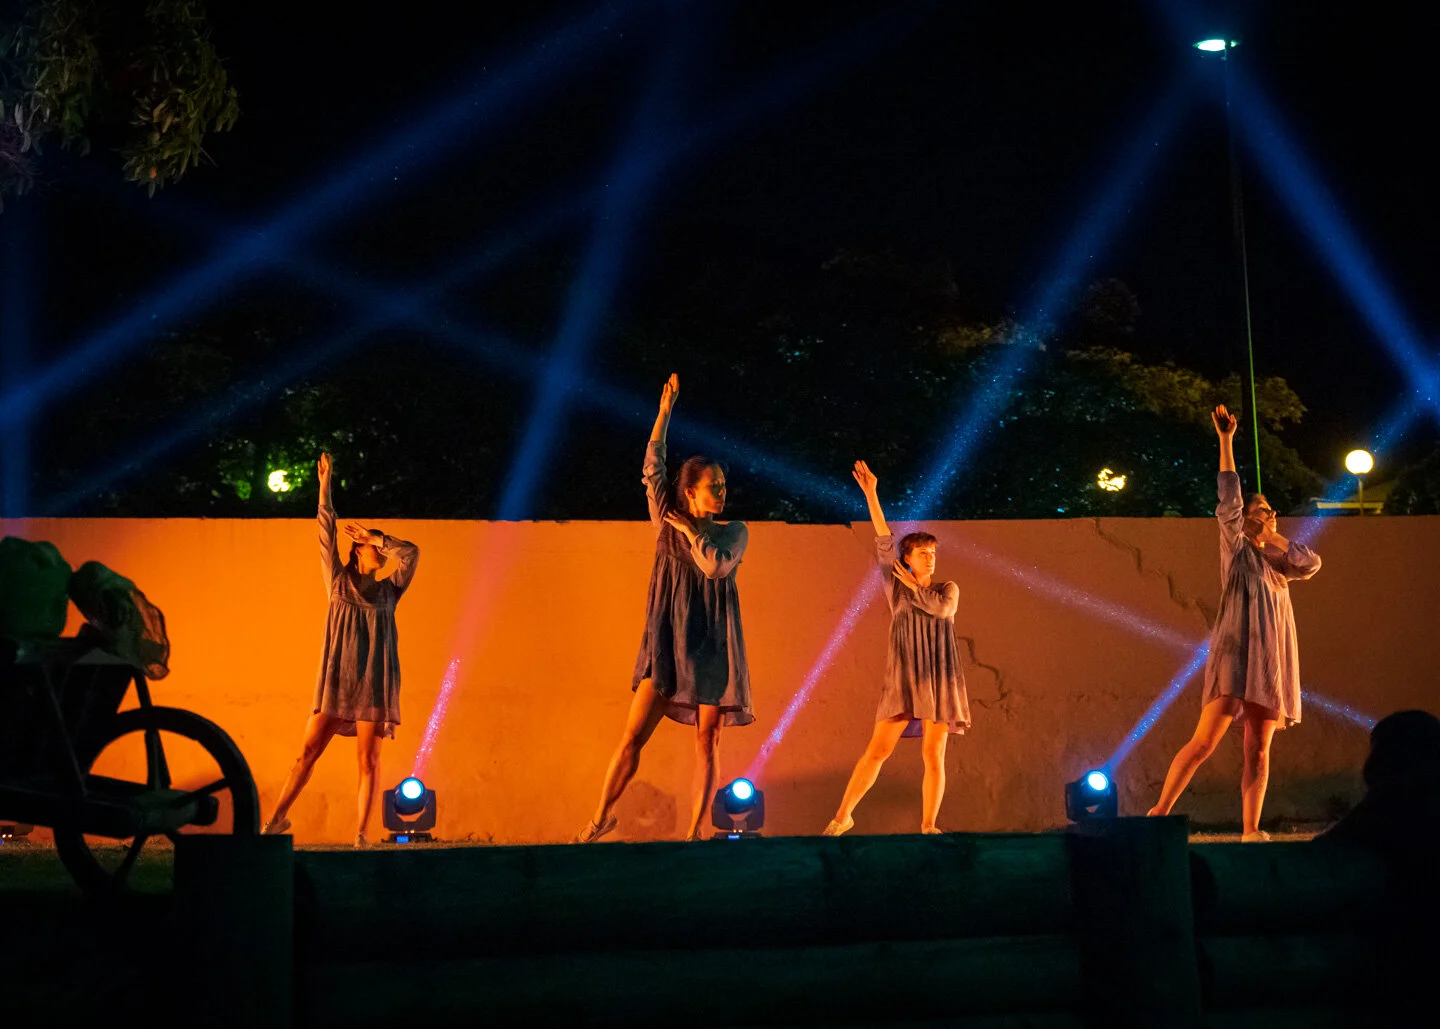
Our last visit of the day was the Gion District but not before heading back to the motel for a shower and relax little. There are no video of our night in Gion because I left all my gear back in the room, except for my camera. Done on purpose, I wanted to concentrate on photography and take a break, chill, relax a little this evening. Thus the reason for only pics of the area. Gion has a great vibe, atmosphere. It’s lively. Géraldine and I both loved the small streets and alleyways that lead to bars, cafes, restaurant, boutiques. Some plain, some colourfully decorated and most lit with different types of lanterns. We saw Geisha or Geiko as they prefer to be called in Kyoto and Maiko, apprentice Geiko. Beautiful women in magnificent kimonos. They were one of the reasons we wanted to visit Gion. So happy we got to see them. We ate dinner in one of the restaurants along the river called Ponto. More an informal Japanese pub (Izakaya) but looks more like a restaurant to me. Pulled out my phone for the food but I think that was a mistake. Did the best I could with the clips. Lovely restaurant, especially dining on the terrace at sunset, beautiful. Great food, drinks, service. Glad we could experience a restaurant along the river. After dinner, I thought we’d checkout a bar I saw, as we were strolling the alleyways, called Bar Hop Seed. They claimed to have a variety of Japanese whiskies so, a nightcap we had. They had Japanese whiskies I’ve never heard of but tried one I did and have wanted to taste for quite a while. The Suntory Hibiki Japanese Harmony. Very nice. They also offer their own rum arrangements. Géraldine tried their apple/cinnamon rum and loved it. The place was almost empty when we arrived but filled within a half hour or so. Mostly tourists and a handful of locals. Though small, Bar Hop Seed is cosy and has a nice, lively atmosphere. Anyways, on our way to the bus stop, I thought I’d take another photo of Yasaka Shrine. It looked beautiful illuminated in the night. Didn’t catch the bus though, saw a taxi and caught that instead. Home in ten minutes. Excellent.
Till next time my friends, Oyasuminasai.