BLOG

Photography has changed the way I see the world around me.

Through it I discover new things and rediscover old ones. Like my island, New Caledonia.

This blog is just me sharing my world through my photography.

Hope you enjoy.

Posts tagged night
THE SOUTHERN WAY

La Roche Percée, Bourail

Second week of our slow exit from confinement and people are starting to forget to implement the protective measures that are still very important.

Back in October I wrote a blog post about getting a new camera setup and trying astro-photography. This is one of those photos I captured. I’ve looked at this photos a few times but it was only on my last edit check that I realised I had captured, not only, the Milky Way but the Southern Cross as well. And that’s because of the research I did for a recent blog post, Celestial Confinement, where I learned to use Alpha Centauri AB and the Southern Cross to find the South Celestial Pole.

In January of last year, I spent a few days with my friend, who was minding a house here, at La Roche Percée. Located on the coast of Bourail which is about a two hour drive north of Noumea. It’s a very popular area with one of New Caledonia’s renowned landmark, Le Bonhomme. Plenty of accommodation, from camping to four star hotel, around the area. Lots to do as well.

It was turtle nesting season and I went out in hopes of seeing baby turtles. No such luck but since there was a fairly clear sky filled with stars, I decided to test my new camera setup (the Sony A7 III with the Tamron E 28-75mm ƒ/2.8 Di III RXD lens) and my hand at capturing the night sky. I admit, I could’ve taken my time to find a better foreground interest but, in my defence, I just wanted to see how well I could capture the stars with my setup.

I hadn’t planned this shot at all. It was a spur of the moment thing when I saw the Milky Way above me. So I set my tripod right where I was and took several exposures with different settings. I noticed the longest exposure I could take without creating star trails was 15 seconds with an ISO of 6400. A longer exposure would create oval shaped stars, especially in the corners, the beginning of star trails. This shot is a 10 second exposure with ISO at a whopping 12,800. Not necessary at all but I wanted to see the amount of noise I’d get with a long exposure. Very little noticeable noise in the sky though very noticeable in the foreground. For best results, a second, very long exposure would’ve been needed for a cleaner and brighter foreground.

I looked at a lot of tutorials on how to edit the Milky Way and it took me a long time and many trials before finding my own editing process and achieve something I was happy with. No fancy Photoshop edit, just some Lightroom brush work.

It was once the photo was ready for sharing that I recognised the two bright stars of Alpha Centauri AB at the bottom of the Milky Way, and the Southern Cross just above it. I was so stoked. This, of course, was thanks to research I did a few weeks ago for my blog post Celestial Confinement. I have to say, this photo means a lot more to me now.

I got a little too excited and provided the illustrated photo to the right for those who are not into astrology. I hope you find this fascinating though or, at least, interesting. Especially for you amateurs and enthusiasts out there, who are getting into this kind of photography. Taking beautiful photos is great but having knowleadge what you’re I think it gives more meaning to your photos. Let me know what you think over on Twitter at @Hervouet.

Now please everyone, whether you’re still in auto-confinement or not, make sure you’re implementing the protective measures of washing hands, social distancing, no touching, coughing and sneezing in your elbow and when possible wear a mask and gloves. Stay safe.


SONY a7 III

A full-frame, mirrorless DSLR from the Sony Alpha series cameras.

TAMRON STANDARD ZOOM LENS

Tamron E 28-75 mm ƒ/2.8 Di III RXD standard zoom lens for E-mount cameras.

VANGUARD TRIPOD

Vanguard VEO 235AB 5 section tripod with TBH-50 ball head.

L-BRACKET

L-bracket / plate for Sony Alpha series cameras.

SANDISK EXTREME PRO

128GB Extreme Pro SDXC memory card from SanDisk.

LETMY HEADLAMP

LED headlamp from Letmy with white and red light.

 
DREHU VILLAGE POOL

Wé, Lifou

27th and last day of confinement.

Almost three years ago now, I had the honour to photograph my cousin’s wedding in Lifou. We spent five days in total to, not only, photograph the administrative, religious and traditional wedding but also photograph and visit this beautiful Loyalty Island, that is Lifou. We stayed, here, at the Drehu Village hotel in Wé, the capital of Lifou. I’ve got a few more photos over on my profiles Facebook, Instagram and Flickr if you’d like to see more of Lifou.

The Drehu Village hotel offers a couple of suites and 28 bungalows. They’re clean, comfortable, spacious and quiet. The bar area, just off to the right of this photo, doubles as the breakfast area. The restaurant, to the left with the green and purple lights, serves delicious and beautifully presented meals made from fresh, local ingredients. And of course, a pool. The staff are kind and their services efficient. Different activities are also available along the gorgeous beach of Chateaubriand Bay, where the hotel is located. Nothing bad to say about this hotel, really. You can even get good deals all year round.

This is a HDR (High Dynamic Range) image comprising of five exposures of two to thirty seconds. They were taken with a great little point & shoot camera, the Panasonic Lumix LX100. I’d bought it, after I had all my gear stolen, just to have a small camera to shoot with while saving for a DSLR. And yes, I photographed the wedding with it. Back to the image, composition-wise, I should’ve framed to the right a touch to included more of the bar area. And also towards the end of blue hour for a more pleasing image with the complimenting colour in the sky. Apart from those things I’m quite happy with it and quite surprised at the quality of the end image. The five long exposures were blended and edited in Lightroom with a number of local adjustments. Clarity and highlights on the wood panels in the foreground and the swimming pool. Colour correction at the bar and the restaurant. And a bit of Defringe in the sky and the roofs. I’m pretty happy with this image.

The Panasonic Lumix LX100 has it’s limits but within them, it produces amazingly good images which means you can take great photos with it. It’s got full manual controls, a Leica lens and can shoot 4K video. This camera is great for someone who’s looking for a fairly compact, point & shoot system and would like to get off Auto and into Manual shooting. Or even someone who shoots Manual but wants a compact point & shoot camera. Looks pretty stylish too, in my opinion.

So, I hope everyone’s is dealing well with confinement and using this time to improve your skills in whatever you’re interested in or learning new skills. There’s no better time for it. Starting tomorrow, here in New Caledonia, we’re slowly coming out of auto-confinement. Great for morales and the economy. But, that doesn’t mean everything is back to normal. On the contrary, it is more important than ever to follow the strict measures or protection. The distance between each other, washing our hands regularly for at least 20 seconds, coughing or sneezing into our elbows and, if possible, wear a mask. Any mask. And please, protect yourself, those you love and others by staying safe at home.


PANASONIC LUMIX LX100

12.8 MP point and shoot camera with 4K video

VANGUARD TRIPOD

Vanguard VEO 235AB tripod with TBH-50 ball head

SANDISK MEMORY CARD

SanDisk Extreme Pro 128 GB class 10 SDXC memory card

THINK TANK MEMORY CARD CASE

Think Tank Photo Pixel Pocket Rocket SD memory card case

GIOTTO LENS CLEANING KIT

Giotto rocket air blower, fine dust brush, rounded & pointed tips cotton buds, microfibre cloth and cleaning solution

WANDRD PRVKE

WANDRD PRVKE 31 lt. travel and camera backpack

 
CELESTIAL CONFINEMENT

6ème Kilomètre, Noumea

Day 20 of auto-confinement announces an extra week of… confinement.

My failure to capture the Super-moon this week pushed me to try my hand at capturing the South Celestial Pole. Though the conditions weren’t the best (the full moon), the opportunity was, with clear skies and the terrace facing south/west. I don’t think it’s too bad for my first attempt, what do you think?

The South Celestial Pole is difficult to explain. It’s an imaginary point in the sky that shows the rotational axis of the Earth. It’s a point in the sky where stars seem to rotate in a circle but in fact it’s the Earth rotating. The South Celestial Pole is only visible from the Southern Hemisphere and the North Celestial Pole only from the Northern Hemisphere.

The idea was to capture the South Celestial Pole through multiple long exposures. Then stack them using StarStax (or any other software that can do the same job) to produce a single image. I would need a few hundred photos for the effect wanted so, apart from a camera and lens, I would need a tripod and an intervalometer. Even though I have a wired remote shutter release, I used the Sony a7 III’s in-body intervalometer for this project. I ended up shooting for about five and half hours but that’s because I miscalculated the total duration time of the project. I based my calculations just on the intervalometer which gave me an hour and half total duration time (1800 exposures x 3 second intervals or pauses between exposures). My mistake was not realising that the intervalometer wasn’t taking into consideration the exposure time of 30 seconds for each of the 1800 exposures, which gives me fifteen hours of just exposure time. Yep, off by that much. I used the PhotoPills app to find the South Celestial Pole but unfortunately, the calibration was slightly off and thus the pole isn’t centred above the flame, as I’d intended. No matter, now I know and will give it a go another time.

I started shooting around 11:30 pm and stopped round 5 am, which gave me about 600 photos. I didn’t use all of them as a few in the beginning and end had too many clouds and a handful in the middle had moved when I stepped out onto the terrace at 1 am thinking it was all finished. It’s also when I thought about why my calculation was off. I ended up using 535 photos for this image. I edited the first one in Lightroom then synched the edit to all the images. I exported them to a folder on my desktop then imported them into the StarStax application. Oh, I forgot to mention that I took a dark frame at the end of the shoot. That is, the exact same exposure as the other 600 but with the lens cap on, to capture a dark image. I also imported this frame into StarStax. It helps with noise and other stuff. Astro-photographers say you should also take bias frames but I didn’t bother. I mean, I almost forgot about the dark frame let alone the bias ones. Anyway, once the 535 photos and dark frame imported, I just clicked on process and left the application do it’s thing. The stacked image shown wasn’t great, to tell you the truth. So I reprocessed the 535 photos multiple times with different settings/configurations but the stacked image was never… it never seemed quite finished. It wasn’t the results I was hoping for. Until I decided to go ahead and export one of the stacked images and saw it was just fine, great even. The application must do a final rendering as it exports the final stacked image because the difference is day and night. Happy with the image, I brought it back into Lightroom for a final edit then into Photoshop for a bit of cleaning and added the flame on the torch. I couldn’t let the torch burn all night so decided to photoshop it in instead. Not the best work but it does the trick, no?

I hope I’ve explained myself clearly enough for you to understand how I came away with this image. If not, let me give you a simpler explanation. I took lots of photos of the exact same scene/picture. Now the foreground (terrace, buildings and trees) don’t move but the stars do, they rotate in the sky. So once I stacked all the photos on top of each other, because the foreground (terrace, buildings and trees) hasn’t moved, it stays exactly the same in the final image. The stars though have moved/rotated during the night, so once stacked, it shows the path they’ve travelled during the night, hence the circles in the final image.

I hope that has helped a little and I hope you’ve enjoyed this post. Talk to you soon and don’t forget, if your area is in auto-confinement, please stay home and if not or you’re working, please protect yourself and others by implementing the protective measures. Stay safe.


SONY a7 III

24 MP full-frame, mirrorless camera (body only)

TAMRON LENS

E-mount 28-75 mm ƒ/2.8 Di III RXD standard zoom lens

VANGUARD TRIPOD

Vanguard VEO 235AB tripod with TBH-50 ball head

SANDISK MEMORY CARD

SanDisk Extreme Pro 128 GB SDXC memory card

WIRED SHUTTER RELEASE

JJC wired remote timer/shutter release for Sony Alpha series cameras

L-PLATE/BRACKET

quick release arca-swiss L-plate/bracket for Sony Alpha series cameras

 
ATCHU WAY

Kuto, Isle of Pines

I got this shot only a few minutes after my last shot. Not quite satisfied with the scene, I switched my attention to these pine trees and thought it would make a nice image with the stars above it. Little did I know I’d capture part of the Milky Way.

As mentioned in my last post, I was hoping to capture the Milky Way over Adventure Island from Atchu Camping. The centre of the Milky Way was too close to the fairly bright horizon to be seen. The sun rises from the same direction and the two hour window before hand wasn’t enough to capture it over the island. Turning my attention about forty degrees to the right, I was able to capture a part of it higher in the sky. To my surprise, as I couldn’t see it with my eyes. Though very happy I capture the Milky Way, it wasn’t my intention on this photo. My attention was captured my the three pine trees pointing up towards the stars. To me, it made for a better composition than my previous photo. And, as with the last photo, it wasn’t taken at dawn but only ten minutes after the first shot at about 2:50 am.

If you’d like to know more on Atchu Camping, check out my blog post To Atchu Beach.

Editing took a little longer on this image. Trying to bring out the Milky Way as much as possible without over doing it, was difficult. A Graduated Filter loaded with Clarity and Dehaze can do wonders but dodging and burning with the Adjustment Brush helped too. The rest of the image was fairly straight forward in regards to editing.


SONY a7 III

full-frame mirrorless camera (body only)

TAMRON E 28-75mm ƒ/2.8 Di IIIRXD

standard zoom, e-mount lens

VANGUARD TRIPOD

VEO 235AB Tripod with TBH-50 Ball Head

L-BRACKET

quick release Arca-Swiss L-plate for Sony Alpha series cameras

SANDICK EXTREME PRO CARD

128GB SDXC memory card

HEADLAMP

Letmy headlamp with white and red Light

 
STARRY ATCHU

Kuto, Isle of Pines

Though cyclone Uesi was north of New Caledonia, it’s effect on Isle of Pines was minimal with some grey clouds and occasional drizzle in the night. An image I was hoping to capture was the Milky Way over Adventure Island. I got one clear night out of the four we were there. This shot was taken on our last night in Isle of Pines.

If you haven’t read my last post, my friend, her two kids and I spent four nights, five days in Isle of Pines at Atchu Camping. The campsite has kind of a private beach and that is where I took this photo from. I was pretty lucky to capture this image as it was our last night on the island. The first night I got up it was clear but clouds came rolling in at such speed, it was amazing to watch. It covered up very quickly and I couldn’t see the Milky Way to begin with. The second night was overcast and the third night it rained. I didn’t give up thought, as there was one more night.

I used the PhotoPills app to see where the Milky Way was going to appear. The app showed it above the horizon at 2:30 am, just over Adventure Island (the island to the left of the image). Unfortunately, with dawn only a couple of hours away and the sun rising from the same direction, it was too bright, not only me to see it but, for the camera to capture it, as well. This eight second exposure was taken at 2:40 am and as you can see, it looks almost day time. I did miscalculate one thing though, the angle at which the Milky Way would appear. I thought it was vertically above the island but in fact, it was at a 35º angle to the right. I should have studied the app thoroughly. Great app though and highly recommend it, PhotoPills.

My first exposures of the Milky Way were framed more to the right with Adventure Island in the middle of the image. Once I realised I wouldn’t capture the Milky Way, I reframed my shot to still include the kayak in the foreground but to add the branches as a natural frame to the stars. I tried different exposure times to see how long I could go before the stars started streaking. Eight seconds seemed to be perfect for this scene. Now I was only two meters from the kayaks which is why they’re out of focus. I should’ve taken another exposure with the focus on them and blended the two images to get sharpness throughout the image. I can’t tell you why I didn’t do it, I can’t only tell you I should have. Editing was fairly quick. Once I got the White Balance right, I pulled up the Shadows to see more of the kayaks and the land mass to the left. Then I added an Graduated Filter to the foreground with a bit of Whites to accentuate the highlight a little. Another Graduated Filter was added to the sky with Clarity and a little Dehaze, just to make those stars pop more. A couple of Radial Filters were added to lighten the water and the other as a vignette. Last bit of edit was with the Adjustment Brush to add Highlight and Whites to a few stars, just to make them shine a little more. Overall, I like the image even though it’s not the most eye catching.

There’s another photo though that I find much more interesting but that’s for a different post.


SONY a7 III

full-frame mirrorless camera (body only)

TAMRON E 28-75mm ƒ/2.8 Di III RXD

standard zoom, E-mount lens

VANGUARD TRIPOD

VEO 235AB Tripod with TBH-50 Ball Head

L-BRACKET

Quick Release Arca-Swiss L-plate for Sony Alpha Series Cameras

SANDISK EXTREME PRO CARD

128GB SDXC memory card

HEADLAMP

Letmy Headlamp with White and Red Light

 
LA NUIT DES ILLUMINÉS DU BAGNE

THE NIGHT OF THE ILLUMINATED JAIL

Noumea, New Caledonia

This event was organised by Association Témoignage d'Un Passé, hosted by them and Site historique de l'île Nou, and held at the Centre de Rencontres et d’Échanges Internationaux du Pacifique (CREIPAC) in Nouville. An evening of music, lights, dance and comedy gave vibrance to this heritage site.

My objective for the evening was to capture the lights on these century old buildings. My mistake though was not arriving before blue hour. It would’ve bumped a couple of these photos a notch above average.

Historically, this place was a hard labour prison and is now a place where people from all over the world come to learn French. And I’m sure to discover the culture here and it’s people.

RION'S SKIES

Païta, New Caledonia

I’m back everyone and I’d like to apologies for the lack of content for the last few weeks. I was very sick with high fever and a lung infection. I couldn’t sleep and when I could it wasn’t good, the constant headaches prevented concentration and couldn’t look at a screen long enough without getting nauseous. I rarely get sick but this was the worst I’ve ever been sick in my life. It really knocked me out. All good now though so hopefully I’ll be able to get back to posting regularly.

This photo was taken from a good friend of mine’s home in Naïa. At the time, the house wasn’t quite finished yet. This was late February. We were there to checkout the advancement on the house and to celebrate another friend’s birthday. This is pretty much the view he has from his lounge room. Absolutely stunning during the day too.

I was still trying out astrophotography with my new camera and though I had a few drinks in me, I had the urge to get the camera out and shoot the night skies. I took two shot for this image. The first was of the stars and the second of the foreground which I illuminated with a small torch. I then used Photoshop to blend the skies of the first photo to the foreground of the second and edited the blended image in Lightroom. It took me quite a long time to get the edit to the point where I was happy with it. The skies is where I had the most trouble getting right. I looked up a few astrophotographers on Youtube to get an idea on how they edit their images and used some of their techniques here. Not the most interesting photo, I admit, but I’m pretty happy with the results.

A big thank you to Roro & Mumu for that weekend. Cheers guys.

28 mm, 10 seconds @ ƒ/2.8, ISO 3200

SHIBUYA

Tokyo, Japan

As this is our last evening and opportunity to do some shopping in Japan, we decided to spend it in Shibuya. Apart from the shopping, there are a couple of other reasons we wanted to come here. The world’s busiest crossing and the world’s most loyal dog.

And you find both at the exit of one of the busiest train stations in the world, Shibuya Station. A popular meeting place and a symbol of enduring loyalty and fidelity, the Hachiko Statue is of a Japanese Akita dog. It’s the story of the dog, Hachiko, that gives significance and importance to the somewhat unimpressive statue. Every day at Shibuya Station, Hachiko would be waiting for his master from his commute home. This continued until the Akita’s death, nine years after his master, Hidesaburo Ueno, died at work from a cerebral hemorrhage. An endearing story that has been turned into movies and books.

We got very lucky when a lady showed up with her Akita to pose in front of the statue. What a gorgeous dog. She was hoping that he would sit still long enough to snap a photo in front of the statue but he was too excited. You can’t blame him though. With hundreds of people in front of the statue, snapping photo after photo, there was no way he could be calm. So glad I got this shot though.

Shibuya’s Scramble Crossing is probably the world’s busiest pedestrian intersection. At peak hour on a Friday or Saturday evening, there can be up to 3000 people crossing this mind boggling intersection at once. It’s quite an experience being in the middle of it all too. The start of the crossing happens fairly quickly with people darting in all directions and you think to yourself “It’s not so bad, there’s plenty of room”. Nearing the centre though is a different story as the pace slows drastically, almost to a halt. People avoiding collision from every direction and now your thinking “There’s no way we make the other side before the cars get the green light”. After what seems like minutes have gone by and you haven’t moved much, the pace pick up and people disappear in different directions. And no joke, cars were already on their way across the intersection as we stepped onto the footpath. Never thought I’d get excited about crossing an intersection.

There are places all around the Shibuya Scramble Crossing to watch the chaos. The Shibuya Station footbridge, the Occitane Cafe, Starbucks, Mag’s Park, just to name a few. We got a coffee at Starbucks and settled on the second floor to capture some images and footage. Also got a quick time-lapse from the footbridge on the way back to the hotel.

Not only a commercial and business centre, Shibuya is also a huge shopping district, a major nightlife area and one of Japan’s fashion hubs for young people. It’s just one of those place you have to visit.

YASAKA-JINJA

Kyoto, Japan

Our long day in Kyoto and beautiful night in Gion ended with this photo of Yasaka Shrine. Though it was late, around 10 pm, there were still a number of people going in to visit or worship. A stunning shrine located on a main road and surrounded by greenery. Behind this entrance is a huge park with many shrines, gardens and ponds. Magnificent.

I took two photographs of this shrine. This one and another with light trails in the foreground. The light trails weren’t criss-crossing the way I liked so I kept this one. I went with a desaturated look with one of my split-tone presets added on top of it. It’s the same preset I’ve used on a number of other photos from Japan. Now, I wasn’t sure about keeping the dead space in the foreground but without it, the mood of the image changes. It becomes cramped and busy. Not forgetting the aspect ratio changes to panoramic. Keeping it, I found, pulls the viewer back, showing a more tranquil scene. Less busy. Showing a few people instead of a small crowd. Makes all the difference.

We were going to catch a bus, just to the right of the image, back to the motel but when I saw a cab approaching, we jumped in that instead. Home in 10 minutes, fantastic. And the cabs are super clean and quite affordable. We hesitated taking them for the first two, three days of our trip, thinking they were expensive. Hearing they were expensive. Not the case at all. The only time we caught them though was to head home quickly at the end of a night. More sleep. Sleep is important hahaha! Goodnight.

28 mm, 1/30th second @ ƒ/2.8, ISO 3200

ITSUKUSHIMA TOWN

Miyajima / Itsukushima Island, Japan

The staff at Hotel Kikunoya, where we stayed, were very friendly and helpful. Really can’t say enough great things about this place. They have their own onsen and restaurant. We had dinner in this street though, in Itsukushima Town. The town pretty much shuts down after sunset and only a small handful of restaurants stay open for tourists. It looks very empty here but I promise you it’s packed with tourists and locals during the day. We wandered down this little street and ultimately back up to a restaurant called Mametanuki. The owner speaks English and is, maybe, British but the restaurant is very much Japanese.

Though this is a long exposure photo, I had a couple walk in the frame and stopped just long enough to appear as ghost figures. So I used the first shot I took of the street to mask them out of the frame. Otherwise, it’s a single exposure.

It’s these types of streets and alleyways that really make me feel like I’m in a different country, a different world. We both wished we’d organised, at least, two nights here. So much to see and visit.

41 mm, 25 seconds @ ƒ/11, ISO 50

ITSUKUSHIMA SHRINE

Miyajima / Itsukushima Island, Japan

Check out my last post if you haven’t seen the torii to this magnificent Itsukushima Shrine. When we arrived for sunset, I was a little disappointed to see it was low tide but glad it was for this shot. Though my friend was cold and we were hungry, we stayed a little longer after blue hour to capture more images. We were only here one night thus wanted to make the most of it. I wanted a centred composition with the reflection but to get it I had to get my feet a bit wet. Well, I tried to avoid it but it was a failed mission. I got the shot I wanted and that’s all that counts.

I have to say I’m blown away by my new camera and lens. It took me a long time to get it but the combination of the Sony a7 III with the Tamron 28-75 mm ƒ/2.8 is just awesome. In regards to this photo, though taken a 30 seconds and ISO 50, the raw file was very dark. Everything behind the shrine and the foreground was in darkness. The dynamic range on the raw file was amazing. I was able to bump up three stops of light noise-free without loosing any sharpness. I’m literally blown away by this camera lens combination and the quality of the images.

28 mm, 30 seconds @ ƒ/11, ISO 50

COURBET PLACE ILLUMINATIONS

Courbet Place is a section of what most people refer to as La Place Des Cocotiers (Nouméa, New Caledonia). For a number of years now the Council has transformed this place with illuminations for Christmas. I had the chance to visit late on the last night.

I rushed around for a composition and took a few photos before the lights turned off. I was actually surprised they hadn’t done so already. This was the last photos taken just a couple of minutes before they did. I got down low to include as much of the arch as possible with the bells on the top third and the Fountain Celeste on the bottom third. The low ISO and small aperture gave me a long exposure of a few seconds. I didn’t want anyone in my composition thus had to wait a few minutes for people to walk out of my composition. I took this shot in the meantime and glad I did as the lights turned off shortly after. I would probably never have gotten the shot I was after so I’m thankful I got this one.

3.2 seconds @ ƒ/8, ISO 100, 28 mm

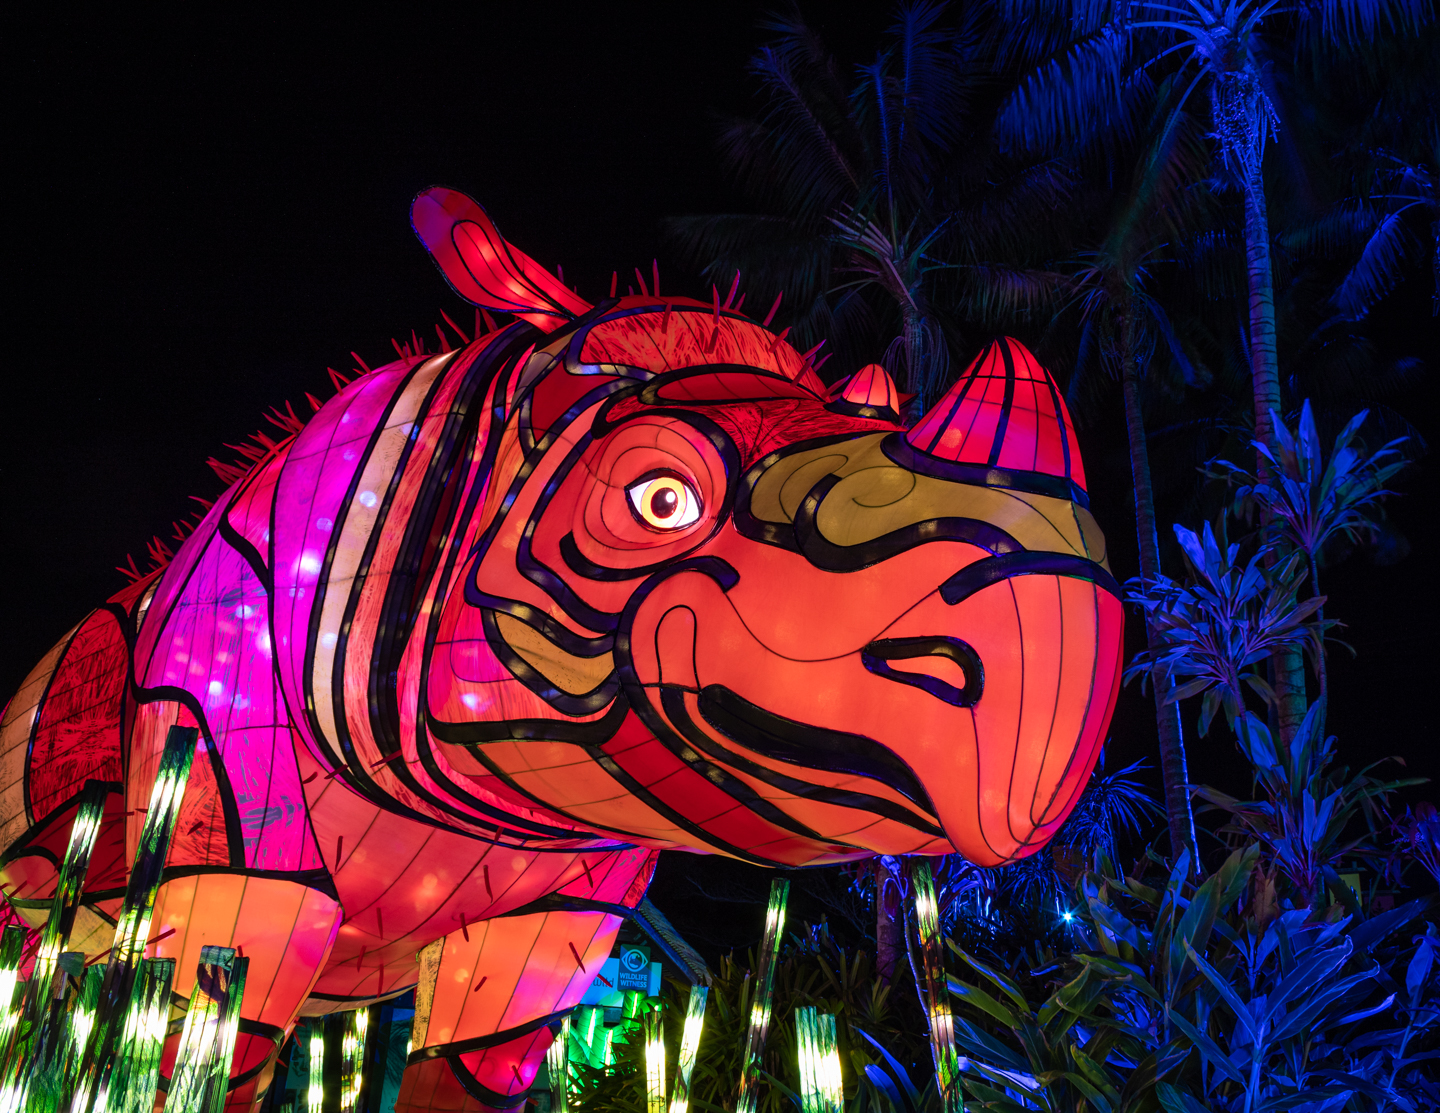
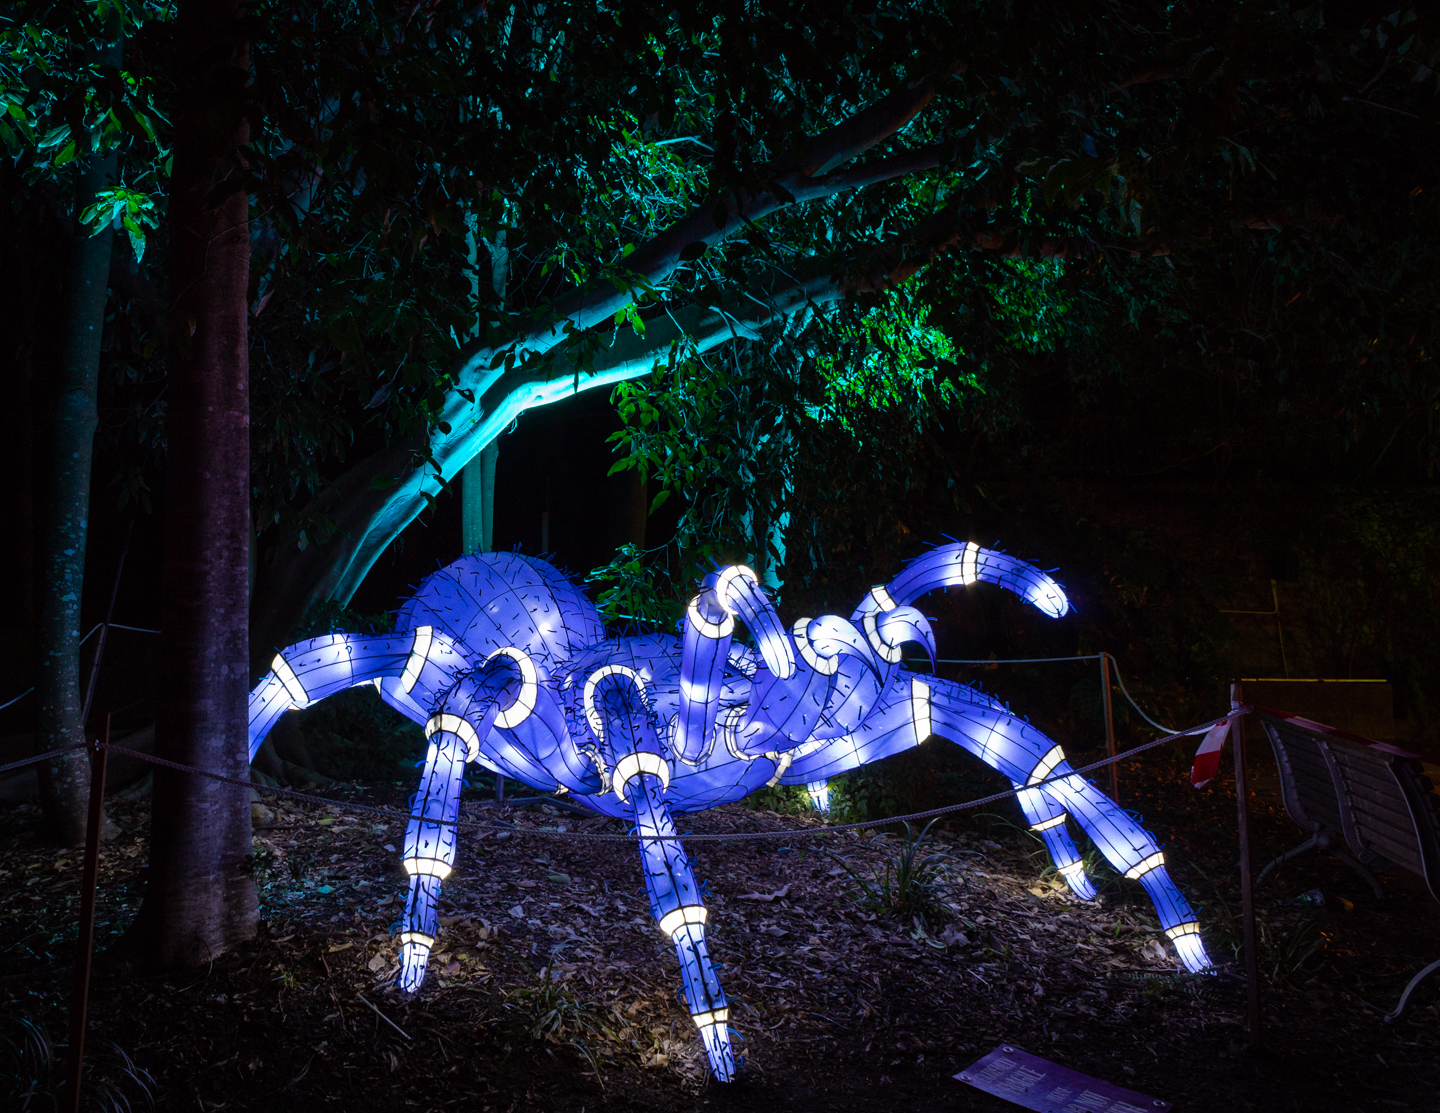
NIGHT ZOO

As I mentioned on my last post we had dinner at the cafe in Taronga Zoo in wait for it to reopen just after dark for Vivid Taronga Zoo. It’s beautiful and amazing and a must do if you’re ever in Sydney while it’s on. And the kids will be inthralled.

A little challenging for photos especially for positioning and framing. You’ve got to have a lot of patience. Many times I had to wait for people to move and a few times for photographers as they had the perfect spot for the shot I wanted. Because there are a lot of people around, you need to be aware your surroundings. You don’t want someone bumping into your gear or taking a kid out with your tripod or backpack. Be careful and tolerant. And talking about the tripod, a must as all of my images are long exposures. It’s the way to go if you want sharp photos.

A big thank you to my friend and her kids for their patience. They endured the cold temperature for at least an extra hour, instead of being warm and cosy back at the hotel, to give me the chance to capture everything. Merci.

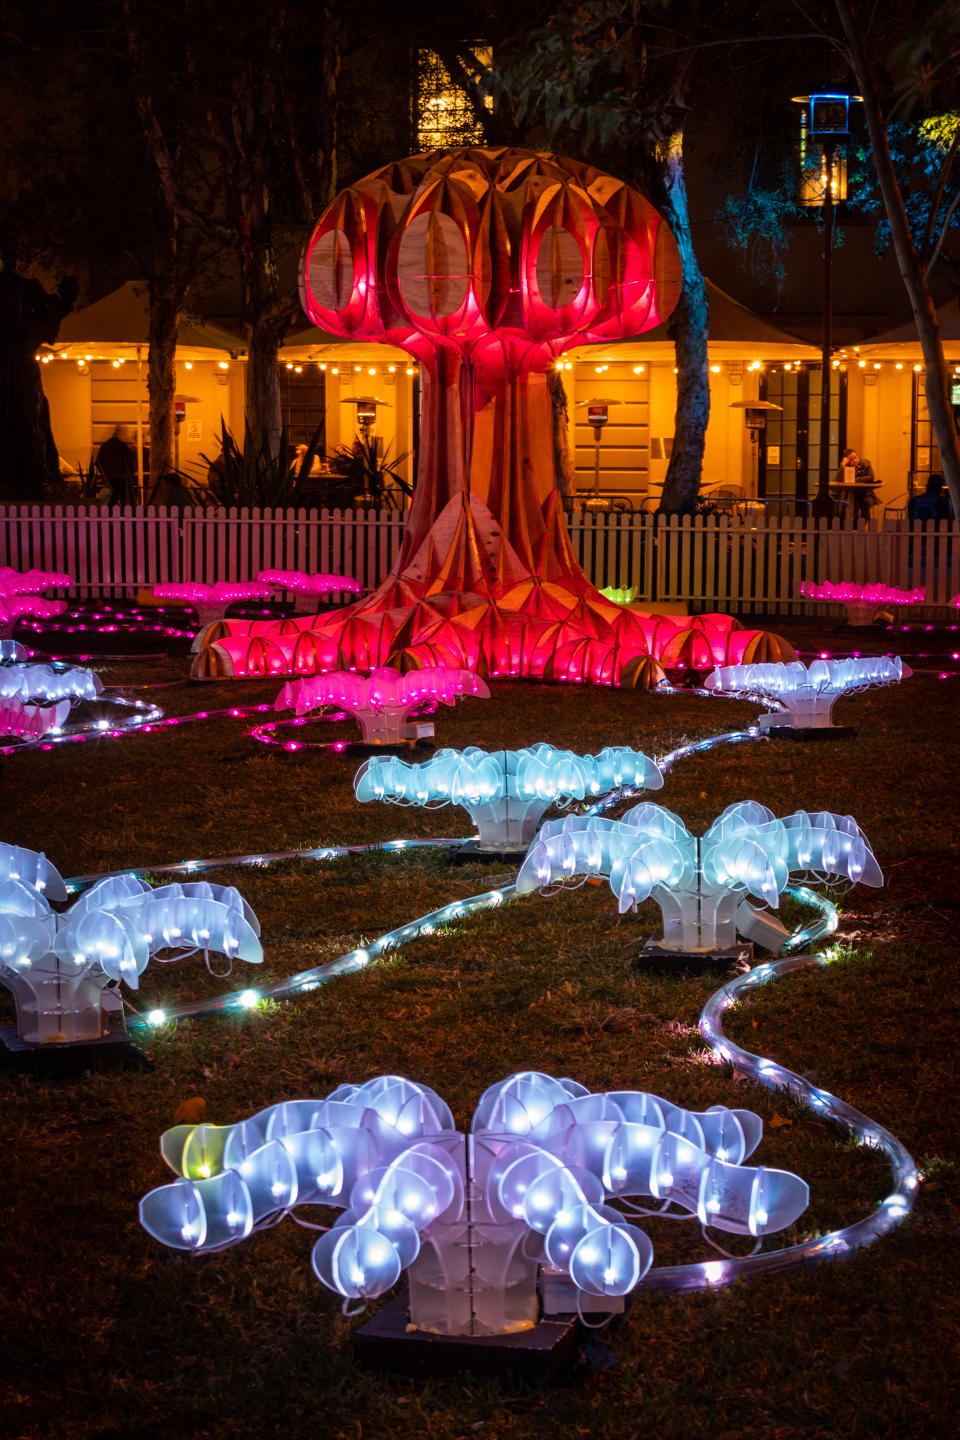
STROLLING VIVIDLY

Who remembers Vivid Sydney? Unfortunately I didn’t have the time to photograph the iconic buildings during this event and I’m sure you’ve seen them either in person or through social media already. I managed a few photos. We (my friend, her two kids and I ) had decided to check out the lights in Circular Quay on the way down from Woy Woy since it was the last day of Vivid Sydney. We had spent the day up there visiting my sister and her little family. It was thanks to a man that had struck a conversation with me, while I set up for my first photo, that I found out about the Botanical Gardens. Well, we had to check it out. I was disappointed I wasn’t able to take many photos along Circular Quay. It was just too crowded. There were thousands of people doing the same thing as we were. It was a lot better once we entered the Botanical Gardens though. And I’m so thankful to the man that approached me as the stroll was just magical. There is so much to see, hear and do during Vivid Sydney that I’ll have to dedicate a trip back just for that. The little we did was such a great experience.

Just a quick shout out to my friend and her kids for their patience. I know it was exhausting for them to wait while I set up my gear, waited for the right moment to capture an image, reviewed the image and do it all over again if I wasn’t satisfied. Especially after an already long day. Thank you very much to all three of you.

BEACH TRAIL

Following on from my last post, I walked over to Poe Beach (Bourail, New Caledonia) and tried to capture stars above the seascape. In this scene I really wanted to avoid trailing stars and try to capture pin sharp ones and lots of them. To do that I needed a faster shutter speed than my last photo Poe Trail, that is an eight minutes exposure and bring that down to eight seconds or round about. Doing that meant I needed to bump up my ISO and I thought about opening up the aperture but I wasn’t sure I could get the foreground and the stars in focus if I did. So I left it at ƒ/11 but even now I’m not sure if that I a good idea or not. Unfortunately the higher ISO introduce too much noise, the faster shutter speed gave me a dark exposure and a slower one, star trails.

So this photo is the best (of the worst) that I was able to capture. Again, a super long exposure of eight minutes and yes, star trails too. I light painted the foreground though in this photo. The image was a little flat and I wanted to give it a little more depth and hope it would balance the foreground with the billions of stars in the sky… yeah, that didn’t quite happen. I think the slow passing clouds prevented the capture of all those beautiful stars I could see. I like the light painting though. Not too much, not too little. It seems natural, no?!

Well, though I had a lot of fun trying to capture the night sky, there was tomorrow’s sunrise to photograph so back to the tent I went.

480 sec (8 mins) @ ƒ/11, 18 mm, ISO 100

POE TRAIL

So from where the photo was taken on my last post, this view would be about thirty-five/forty metres behind me. From this photo, the Camping de Némo is on the left, Poé Beach on the right and I’m standing in the middle of the road that runs through the Camping de Poé along the beach.

I wanted to use this road as a leading line to a night sky with billions of stars and use the full moon to illuminate the foreground but this was the best I could do. I experimented with different settings but all the images were either too noisy or too dark and all had a lot of speckles. As with this one and another similar photo that I will share on my next post. My entry level camera isn’t very good in low light and I haven’t got any experience in this genre either. But I had lots of fun and will definitely give it another go.

480 sec (8 mins) @ ƒ/11, 18 mm, ISO 100

NEMO'S CAMP

Back in April a friend of mine had friends visiting from France. They were going to tour around the island for a couple weeks. Their first stopover was the Sheraton Deva Spa & Golf Resort (Bourail, New Caledonia). It fell on a long weekend for us and my friend wanted to head up and spend some time with them. We didn’t stay at the resort as we are both saving money for an upcoming vacation. So we decided to try a camp site we had never been to called Camping de Némo.

It’s located just behind Camping de Poé and only a five minute drive to the resort. I must admit, upon arrival, I wasn’t to thrilled about the camp site. Though it’s limited to twenty or so tents, the area is quite small. Poé Beach is only fifty metres away, which is great, but you have to cross Camping de Poé to get to it. I would have preferred to camp closer to the beach but my friend had her two girls with her and the camping de Némo is family oriented. In the end it was a better choice. Not only because her kids met and played with other kids but because they have a fantastic bar/snack. Including the friends from France, we all ended up dining there that night and I think I speak for all of us when I say we highly recommend it. They have a nice variety of dishes to choose from that are well presented with a good serving and scrumptiously delicious. The service was good and so was the price. Well worth a try.

And talking about trying, I tried to take a photo of the camp site without annoying or disrupting anyone and this was the best I could do. You can see the elevated bar/snack in the background. I stayed up late trying to snap some photos of the night sky and though I’m not too thrilled about the images, I will share them with you in upcoming posts. Just to show you what wasn’t too far away.

120 sec (2 mins) @ ƒ/11, 18 mm, ISO 100